Cleaning your water tanks is more than just a household chore; it’s an essential part of ensuring safe, hygienic water for your family or business. Over the years, I’ve cleaned everything from small residential tanks to large commercial systems, gaining hands-on experience and learning the best practices. Following a systematic approach really makes a difference, especially when working with trusted professionals like Frontline Cleaning Services.
This guide contains a rather practical water tank cleaning checklist and is actionable.
Why Clean Water Tanks Regularly
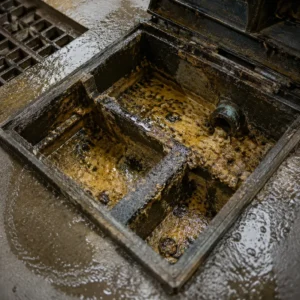
Water tanks are susceptible to contamination by dust and live algae, bacteria, and sediment depositions. With time, the water can start to develop foul odors and become cloudy, as well as pose health risks. From my professional experience, even a seemingly clean tank can harbor hidden impurities harmful to water quality. Regular cleaning:
- Prevents microbial growth.
- Reduces sediment accumulation.
- Maintains water clarity and taste.
- Extends the life of your tank.
Checklist for Cleaning Water Tanks.
Water Tank Cleaning in Dubai involves following this checklist line by line. As far as safety, thoroughness, and efficacy are concerned, this checklist ensures them all.
1. Assemble Proper Tools and Protective Effects
Gather everything one needs before one begins. Safety comes first. I always use:
- Rubber gloves and masks
- Safety goggles
- Soft and heavy bristle cleaning brushes
- Bucket and mop
- Non-toxic disinfectant or bleach
- Water-testing kit
Everything needs to be in place to ensure no interruptions during cleaning and a clean process.
2. Drain the Tank Completely
The first real hands-on step is pretty much draining the tank. I often do this by:
- Switching off the water supply
- Some form of a pump or a gravity outlet to remove water
- Then, the last requirement, look around the bottom section for sludge, sediment, or other junk inside.
This is the most important step; water left over can be a hiding place for bacteria or algae.
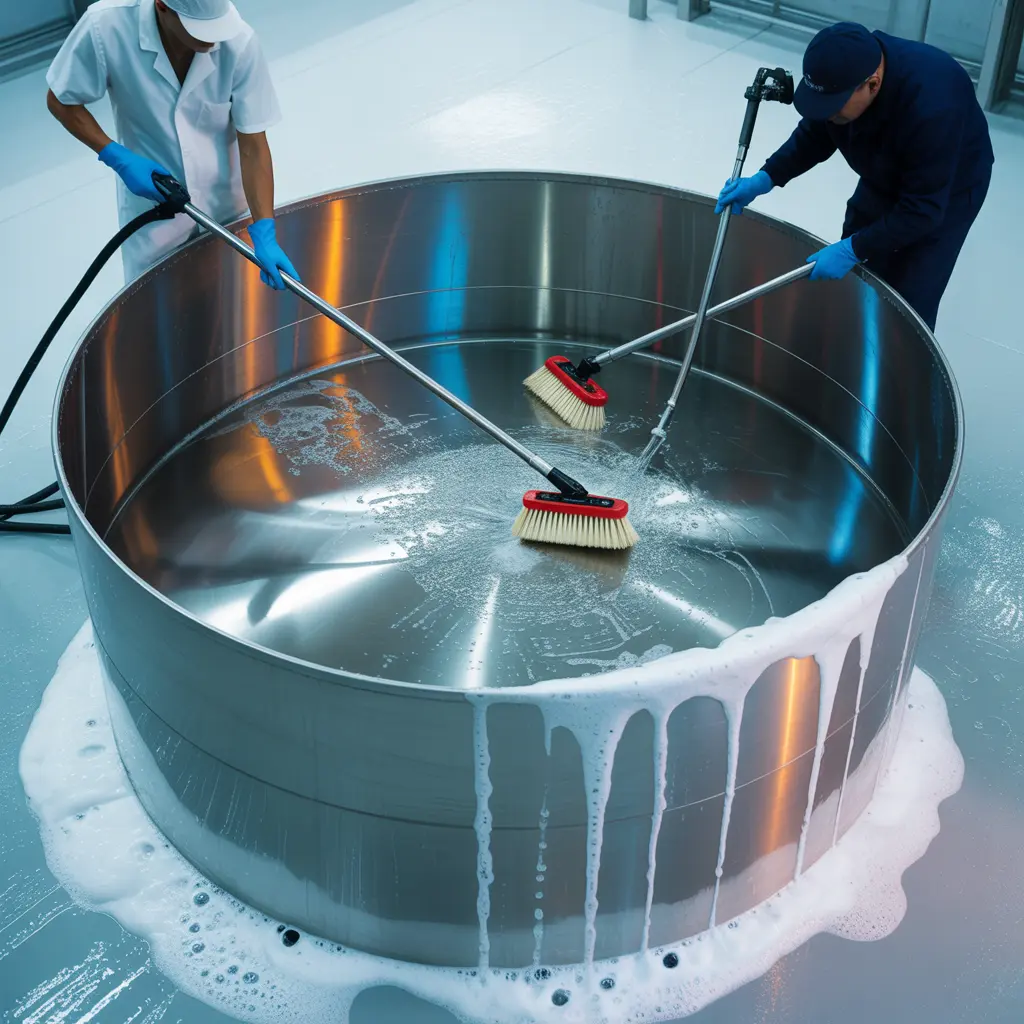
3. Brush Off and Clear Sediment
Next, once it is drained, I am going all around the tank, really scrubbing every single corner.
- Use a long-handled brush for deep corners
- Concentrate on the walls, floor, and tank lid
- Store everything in a bucket for disposal
That will remove the physical buildup that cannot be tackled through the flushing of plain water.
4. Disinfect the Tank
Disinfection assures the tank is free of those nasty microorganisms. I recommend:
- Apply a chlorine solution or a non-poisonous water tank disinfectant
- Leave the solution for at least 30 minutes
- Then rinse with clean water
Tip: Never miss out on rinsing the remnants, as caustic substances can affect your high-quality water.
5. Fill and Flush the Tank
Now, with cleaning and disinfection:
- Clear the tank and refill with fresh water.
- Flush the first few liters to ensure that no remaining contaminants are present.
- Test quality with a simple home kit.
This is going to ensure that your water is safe to use immediately.
Pro Tips from My Experience
I have stumbled upon some tricks that make it easier and more effective to clean tanks over the years:
- Twice a year clean: It is advisable to clean more often during dusty conditions or where hard water is the case.
- There should be no leaks or cracks: Damage can easily lead to contamination by allowing dirt in.
- Cover the tank: A proper lid will keep contaminants and pests out.
- Install a sediment filter: Lessening the build-up means longer intervals between cleaning.
Conclusion
A clean water tank is the foundation of healthy living. This water tank cleaning checklist can help you understand how to clean a dirty water tank. And implement a safe, clear water system for your family or business. Remember that consistent maintenance, safety precautions, and the correct way of disinfecting are the keys. From my experience, a well-maintained water tank protects your health but also increases the lifespan of that tank.
A chore that’s not, but an investment in health, safety, and peace of mind.